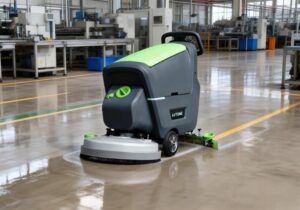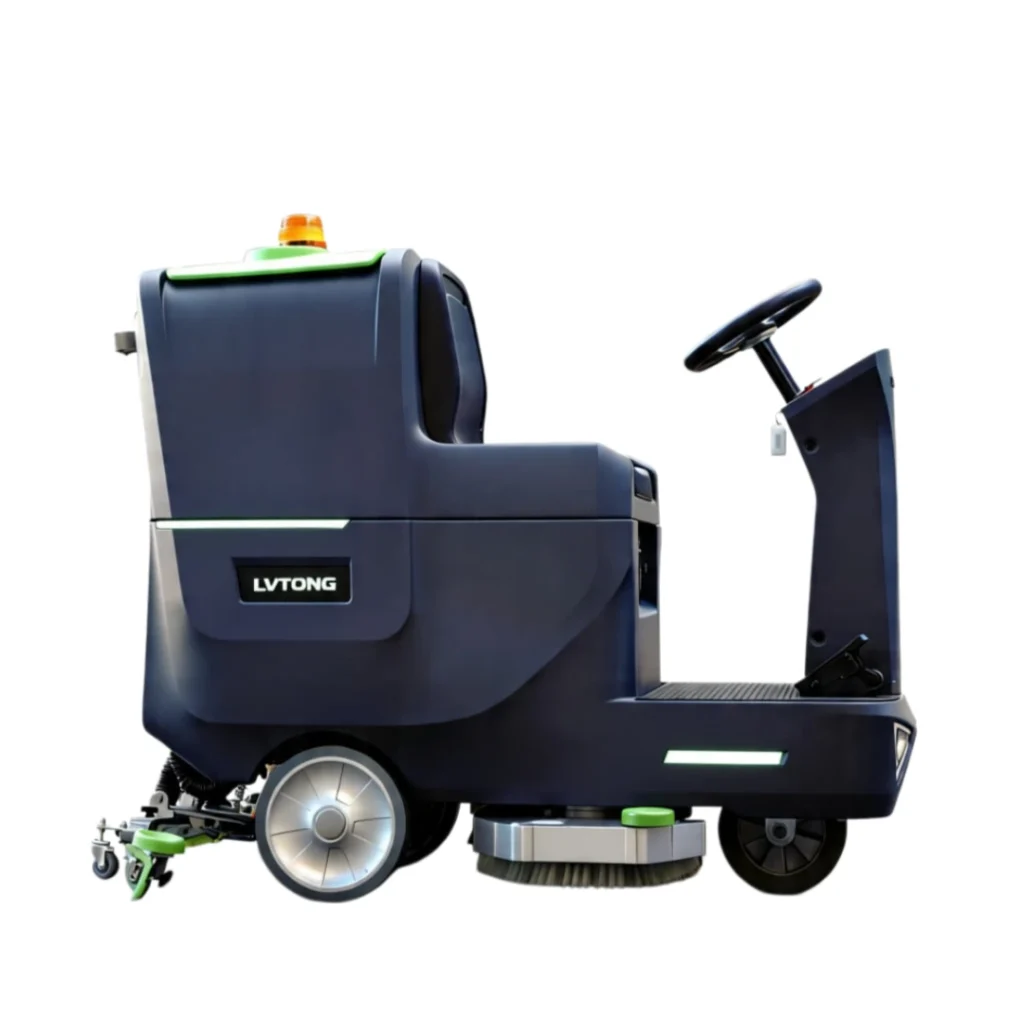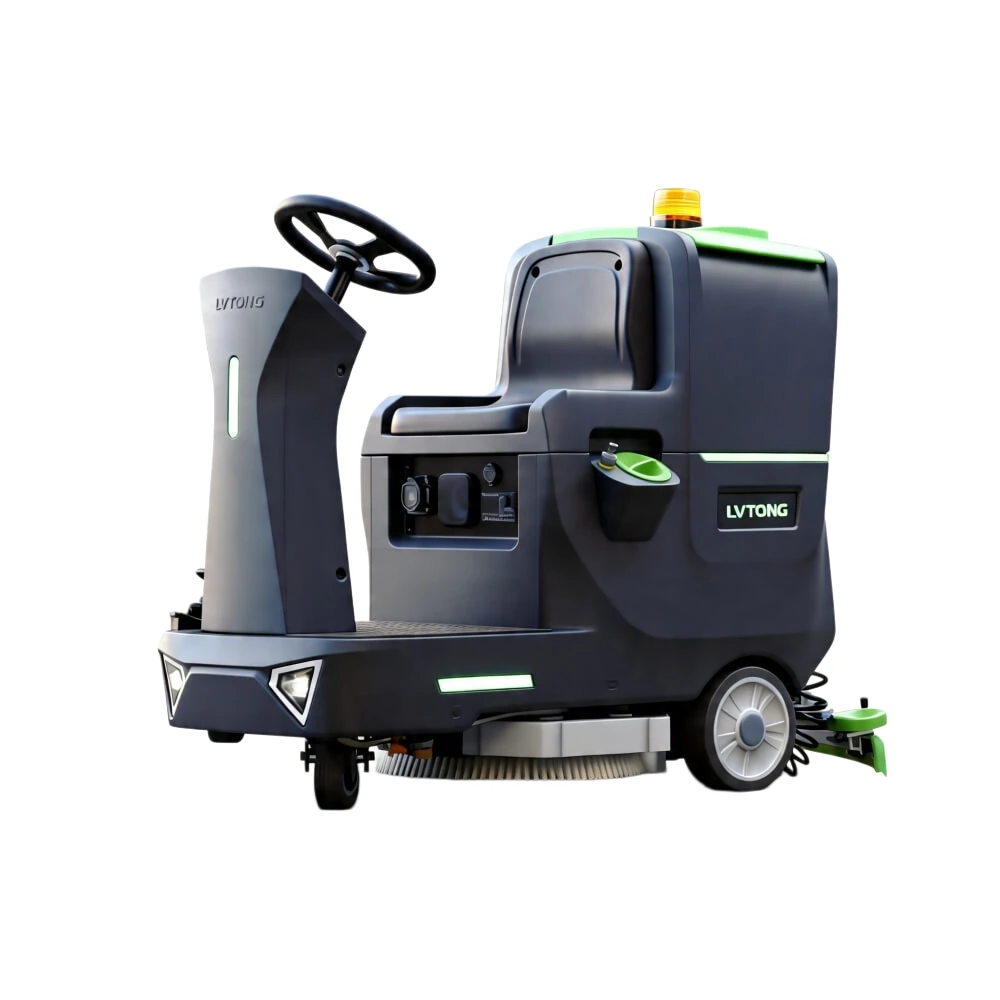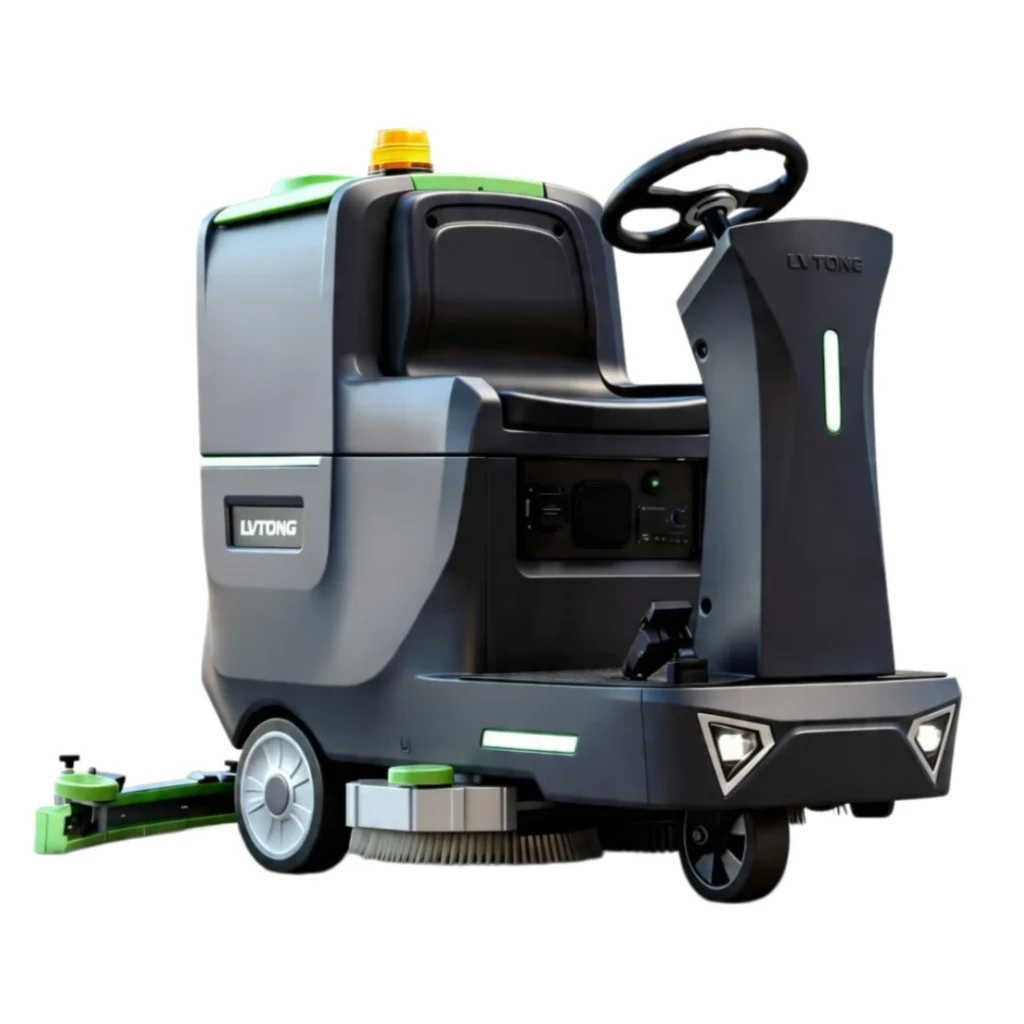
Learning how to use a ride-on sweeper correctly can improve sweeping efficiency, reduce operator fatigue, prevent machine damage, and keep large indoor or outdoor areas cleaner with less manual work. Whether you use an electric ride-on sweeper in a warehouse, factory, logistics park, parking lot, school, airport, or outdoor road, the basic operating process is easy to follow when you understand the controls and safety steps.
This guide explains how to use a ride-on sweeper step by step, including safety checks, control panel setup, brush adjustment, sweeping route planning, debris bin emptying, overcurrent protection awareness, and after-use maintenance.
Quick Answer: How to Use a Ride-On Sweeper
To use a ride-on sweeper correctly, follow six basic steps: inspect the machine, prepare the cleaning area, adjust the brushes, operate the control system, sweep with planned routes, and complete post-use maintenance. Check the battery or fuel level, brushes, tires, debris bin, filters, emergency stop, and control panel. Adjust the brush height based on the floor surface and debris level.
After the safety check, sit down, adjust the seat, start the machine, turn on the main brush, side brush, and vacuum system, and drive at a steady speed. Sweep in slightly overlapping routes and empty the debris bin when it is half to two-thirds full. After use, turn off the brush and vacuum system, empty the hopper, clean the brushes and filters, check for damage, recharge or refuel the machine, and store it in a dry, ventilated area.
What Is a Ride-On Sweeper?

Ride-On Sweeper Machine Introduction
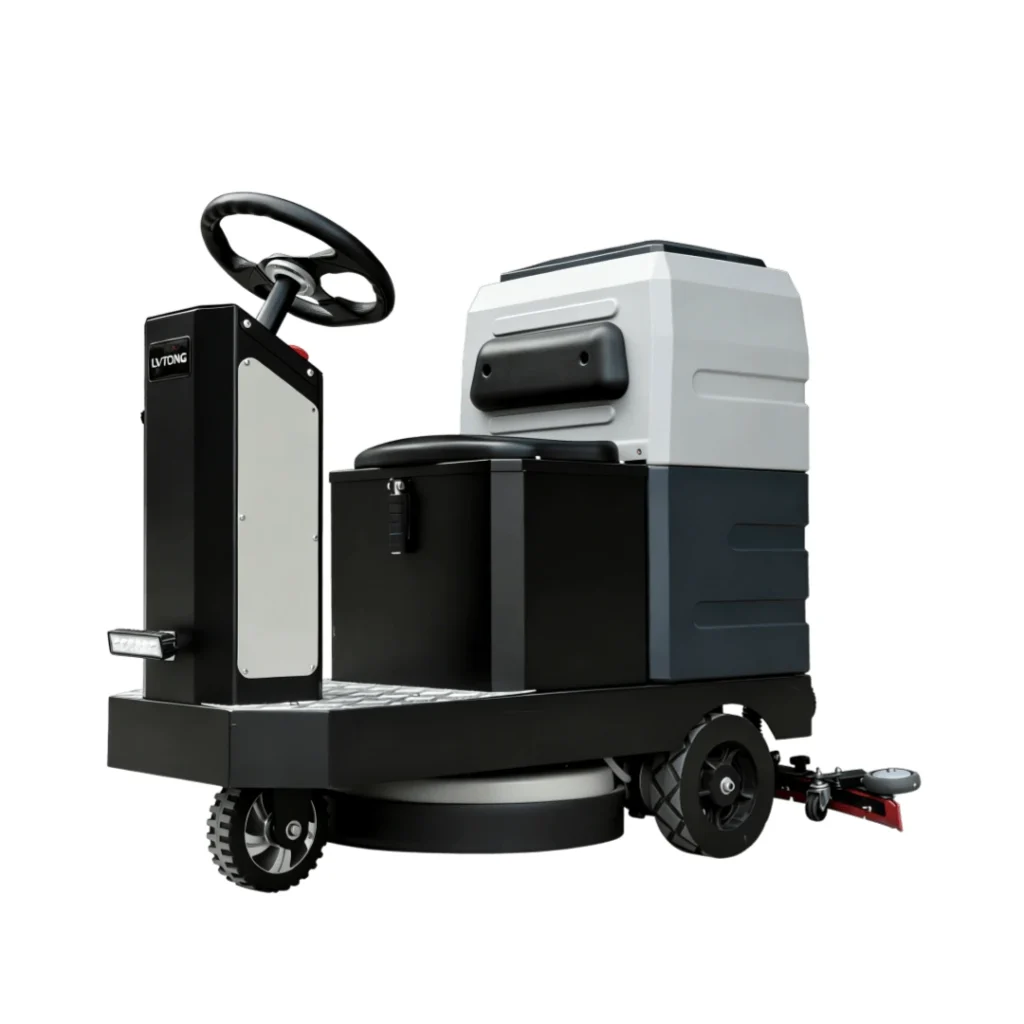
A ride-on sweeper is an industrial cleaning machine that allows an operator to sit and drive while sweeping large indoor and outdoor areas. It uses rotating brushes, vacuum suction, filters, and a debris hopper to collect dust, leaves, sand, packaging waste, and other dry debris efficiently.
Unlike manual sweeping methods, a ride-on sweeper combines sweeping and debris collection in one process, helping businesses improve cleaning speed, reduce labor requirements, and maintain consistent cleaning results. It is commonly used for indoor and outdoor sweeping in warehouses, factories, logistics parks, parking lots, schools, airports, industrial yards, and paved roads.
Most ride-on sweeper machines use a main brush, side brush, vacuum system, filter system, and debris hopper. The brushes sweep dust, leaves, sand, packaging waste, and small debris into the collection system, while the vacuum and filter system help control dust during operation.
Why Ride-On Sweepers Improve Cleaning Efficiency
Ride-on sweepers are useful for large cleaning tasks because they reduce manual pushing, improve cleaning speed, and lower operator fatigue. Compared with manual sweeping or walk-behind sweepers, a ride-on sweeper can cover more area per hour and keep cleaning results more consistent.
They are suitable for many surfaces, including concrete, asphalt, warehouse floors, outdoor roads, industrial yards, and public areas. For facilities with frequent sweeping needs, a ride-on sweeper can also reduce labor time and long-term cleaning costs.
LVTONG is a professional industrial cleaning equipment manufacturer providing ride-on sweepers, floor scrubbers, and commercial cleaning solutions for warehouses, factories, logistics centers, airports, schools, and public facilities.
LVTONG ride-on sweepers are designed to help facility managers improve sweeping efficiency through powerful brush systems, dust control technology, and reliable debris collection performance.
Industrial Applications of Ride-On Sweepers
Ride-on sweepers are designed for large-area cleaning environments where manual sweeping is inefficient and time-consuming.

They are commonly used in:

- Warehouses
- Manufacturing plants
- Logistics centers
- Parking areas
- Airports
- Schools
- Commercial facilities
- Industrial yards

Different facilities face different cleaning challenges.

Warehouses usually require effective dust and packaging debris removal.

Factories may need stronger brush systems to handle production dust and industrial debris.

Outdoor areas often require durable machines with strong debris collection capability and reliable dust control systems.

Choosing a ride-on sweeper based on the actual application environment helps businesses improve cleaning efficiency and reduce unnecessary labor costs.
How Does a Ride-On Sweeper Work?
A ride-on sweeper works through four main cleaning processes:
- Sweeping:
The main brush collects dust and debris from the floor surface. - Edge Cleaning:
The side brush removes debris from corners, walls, and edges. - Dust Control:
The vacuum and filter system reduce airborne dust during operation. - Debris Collection:
Collected waste is transferred into the hopper for easy disposal.
This integrated cleaning process allows ride-on sweepers to clean large areas faster than traditional manual sweeping methods.
Best Places to Use a Ride-On Sweeper
A ride-on sweeper is best used in large or high-traffic spaces where manual sweeping is slow, tiring, or inconsistent.
| Application Area | Why It Fits |
| Warehouses | Cleans dust, packaging debris, pallet areas, and traffic lanes efficiently |
| Factories | Handles industrial dust, dry debris, and production floor cleaning |
| Logistics parks | Suitable for loading areas, outdoor yards, and distribution center roads |
| Parking lots | Sweeps sand, leaves, small trash, and outdoor debris |
| Schools | Helps clean campus roads, courtyards, and public walkways |
| Airports | Supports large-area sweeping in terminals, service areas, and outdoor zones |
| Parks and public areas | Cleans leaves, dust, and debris on paved paths and plazas |
| Outdoor roads | Suitable for paved industrial roads, community roads, and municipal cleaning areas |
Ride-On Sweeper Safety Checks Before Operation
Before operating a ride-on sweeper, complete a safety and setup inspection. This helps prevent machine damage, poor sweeping results, overload, and operator safety risks.
Pre-Use Safety Checklist
Walk around and check whether the floor sweeper machine has loose components or damage. Catching it early saves you from headaches later.
- Walk around the machine and check for loose parts, visible damage, leaks, or abnormal wear.
- Check the battery level or fuel level before starting work.
- Inspect the main brush, side brush, debris hopper, tires, filters, and warning indicators.
- Adjust brush height according to floor type and debris level.
- Make sure the emergency stop button works properly.
- Check that the cleaning area is free of large stones, ropes, cables, plastic strips, or other objects that may block the brush.
- Wear suitable safety shoes, gloves, and eye protection if needed.
- Learn the control panel before driving the sweeper.
- How To Use a Ride-On Sweeper: The Simple Steps
These checks may only take a few minutes, but they can help the ride-on sweeper operate more safely and efficiently.
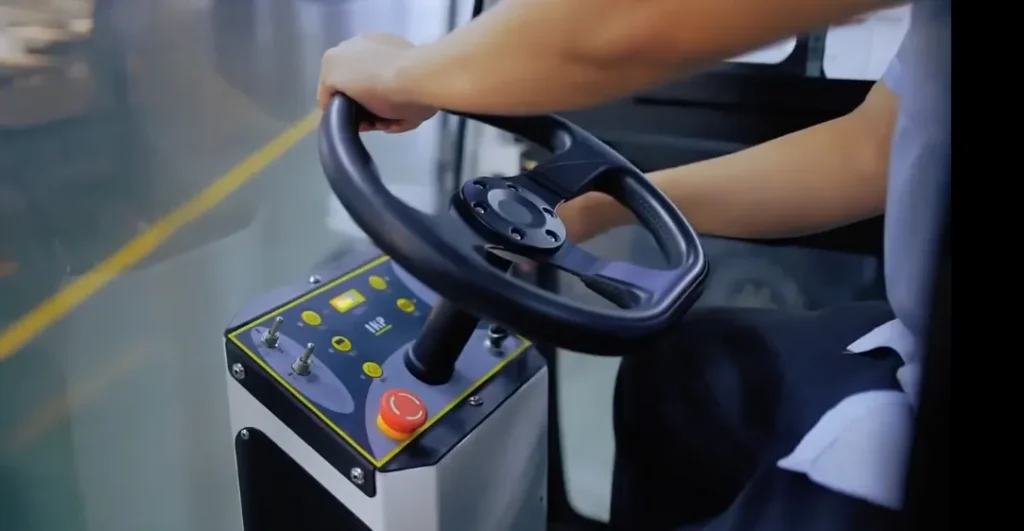
Ride-On Sweeper Control Panel Basics
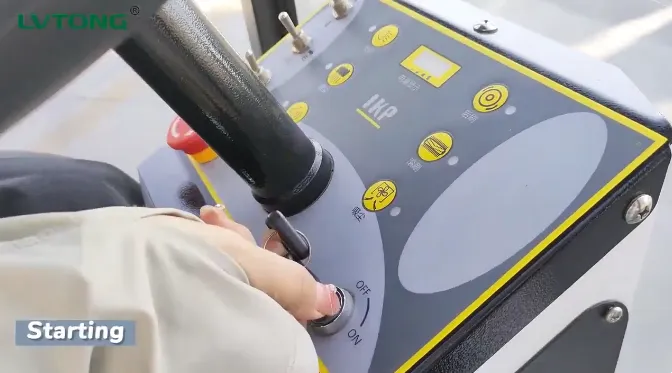
Before driving the machine, understand the main controls. A simple control panel makes operation easier, but the operator still needs to know what each switch or indicator means.
| Control | Function |
| Power switch | Starts or stops the machine |
| Main brush switch | Turns on the main sweeping brush |
| Side brush switch | Helps clean edges, corners, and side areas |
| Vacuum switch | Helps collect dust and debris through suction |
| Speed control | Adjusts driving speed based on the cleaning area |
| Battery or fuel indicator | Shows remaining power or fuel level |
| Emergency stop | Stops the machine quickly in an emergency |
| Warning indicator | Shows faults, overload, or protection status |
If the machine shows an overcurrent protection warning, stop operation immediately. Check whether the brush is blocked by rope, plastic, stones, heavy debris, or uneven surface resistance before restarting.
Step-by-Step: How to Use a Ride-On Sweeper
Step 1: Sit Down and Start the Machine
Sit on the sweeper, adjust the seat, and fasten the seat belt if the machine is equipped with one. Make sure you can reach the steering wheel, pedals, switches, and emergency stop comfortably. Start the machine with the key or power button according to the operating manual.
Step 2: Turn On the Brush and Vacuum System
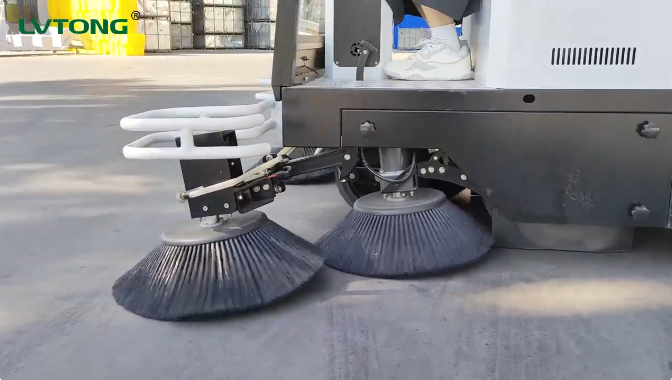
Turn on the main brush, side brush, and vacuum system using the control panel, switch, or lever. The main brush collects debris from the floor, the side brush helps clean edges and corners, and the vacuum system helps pull dust and small debris into the hopper.
Step 3: Adjust Brush Height and Drive at a Steady Speed
Adjust the brush height based on the surface and debris level. If the brush is too high, it may miss dust and debris. If it is too low, it may increase brush wear, machine load, or trigger overload protection.
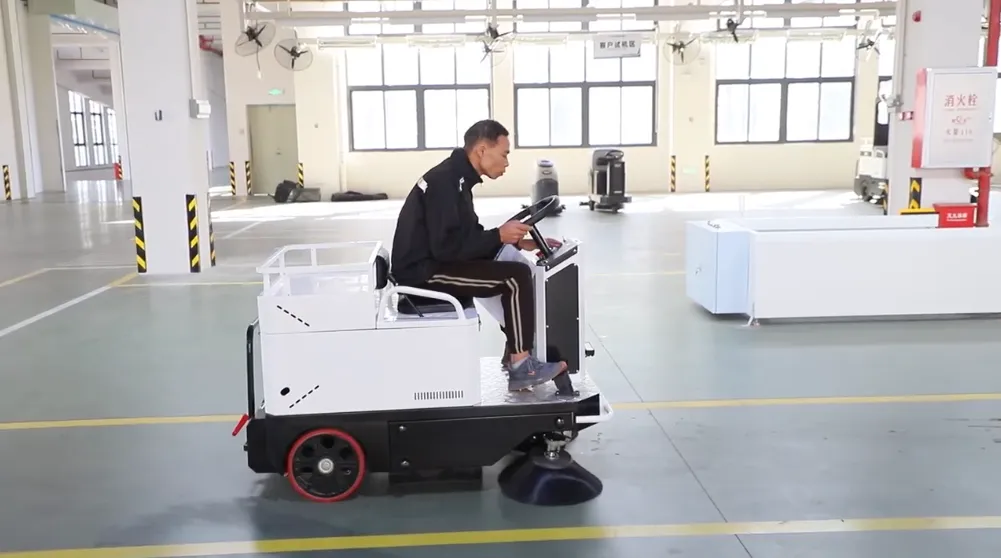
Drive at a steady speed. Moving too fast may leave debris behind, while moving too slowly can reduce efficiency. Always watch the floor, nearby people, racks, vehicles, walls, and obstacles while operating the ride-on sweeper.
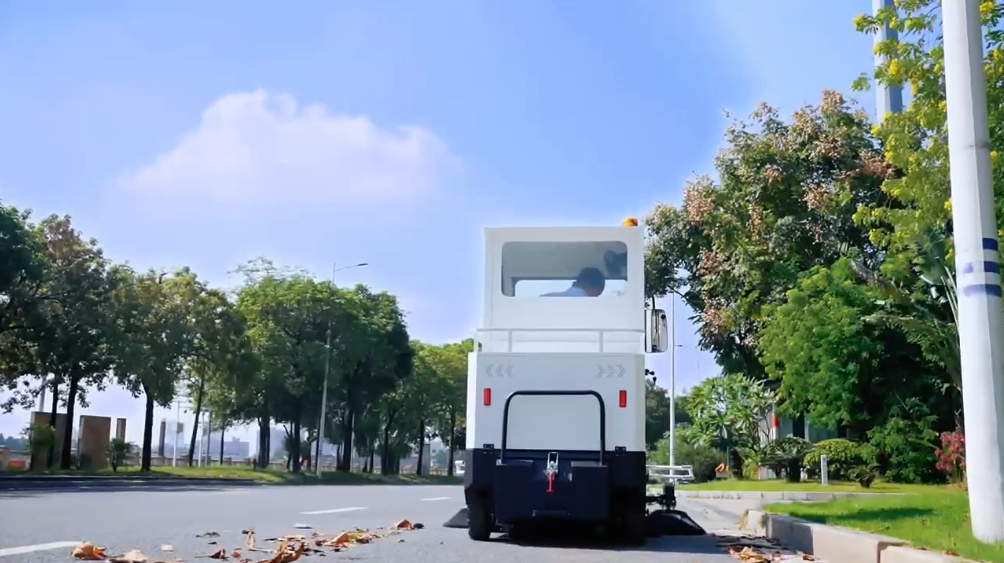
Step 4: Sweep in Slightly Overlapping Routes
Plan your route before sweeping. Use straight, predictable paths and overlap each pass slightly to avoid missed strips. This method is useful for warehouses, factories, parking lots, logistics parks, and other large areas.
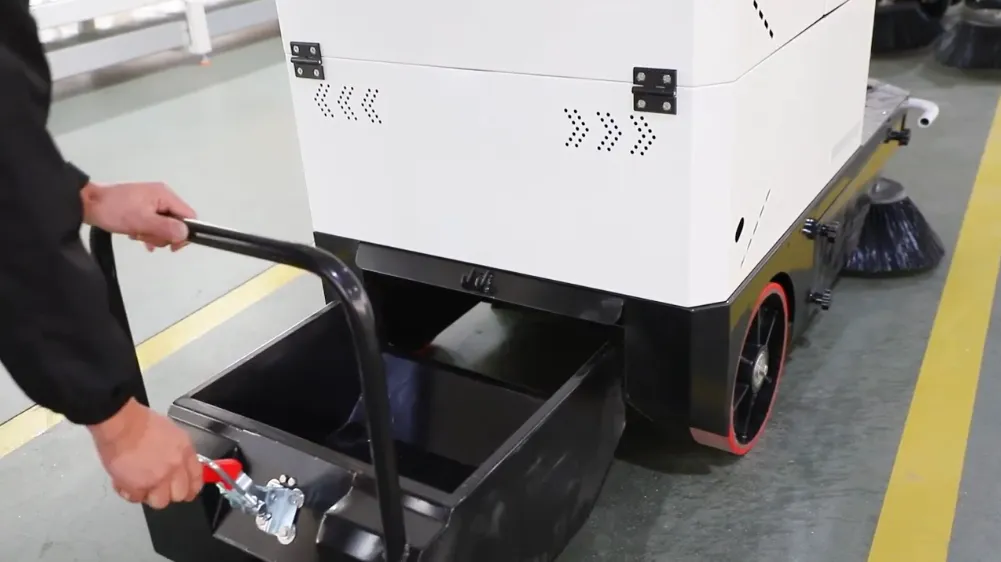
Step 5: Check and Empty the Debris Bin
Check the debris bin or hopper during operation. Empty it when it is about half to two-thirds full. Do not wait until the bin is completely full, because overload can reduce suction, affect sweeping performance, increase dust, and put extra pressure on the machine.
Step 6: Stop the Sweeper Safely
When the cleaning task is complete, slow down gradually. Turn off the brushes and vacuum system before fully stopping the machine. Park the sweeper in the correct area, turn off the power or engine, and follow the after-use maintenance steps.
Tips for Effective Sweeping with a Ride-On Sweeper
- Plan the cleaning route before driving to avoid repeated cleaning or missed areas.
- Choose the right brush for the floor. Harder brushes are usually better for outdoor or rough surfaces, while softer brushes are better for indoor or smoother floors.
- Adjust brush height based on floor type and debris level.
- Avoid sweeping wet floors unless the machine is designed for that condition.
- Empty the debris bin regularly to prevent overload and reduced suction.
For visual training, you can also add a related ride-on sweeper operation video here to show the control panel, brush system, driving speed, route planning, debris bin emptying, and after-use maintenance.
Ride-On Sweeper vs Ride-On Scrubber Drier
A ride-on sweeper and a ride-on scrubber drier are not the same machine.
A ride-on sweeper is mainly used for dry sweeping. It collects dust, sand, leaves, packaging debris, and small trash into a hopper. It is suitable for warehouses, factories, outdoor roads, parking lots, logistics parks, schools, and industrial yards.
A ride-on scrubber drier is used for washing the floor. It applies cleaning solution, scrubs the surface, and recovers dirty water with a squeegee and vacuum system.
Use a ride-on sweeper when the main problem is dust and dry debris. Use a ride-on scrubber drier when the floor needs wet scrubbing, stain removal, and water recovery.
Walk-Behind Sweeper vs Ride-On Sweeper
A ride-on sweeper is mainly designed for dry debris removal, including:
- Dust
- Sand
- Leaves
- Packaging waste
- Industrial particles
A ride-on scrubber drier is designed for:
- Oil stains
- Wet cleaning
- Floor washing
- Water recovery
Choosing the correct machine depends on whether your facility needs sweeping or deep floor cleaning.
Walk-Behind Sweeper vs Ride-On Sweeper
| Feature | Walk-Behind Sweeper | Ride-On Sweeper |
|---|---|---|
| Operator position | Walking behind machine | Sitting on machine |
| Best application | Small and medium areas | Large facilities |
| Cleaning speed | Lower | Higher |
| Operator fatigue | Higher | Lower |
| Common users | Small shops, schools, workshops | Factories, warehouses, airports |
After-Use Maintenance for Ride-On Sweepers
After-use maintenance is important for keeping the ride-on sweeper safe, efficient, and reliable. Spending a few minutes after each cleaning task can reduce breakdowns, protect the brush and filter system, and extend machine life.
| Maintenance Step | What to Do |
| Empty the hopper | Empty and clean the debris container after each use |
| Inspect the brushes | Remove tangled debris and replace worn brushes when needed |
| Check the filters | Clean or replace filters if suction becomes weak or dust control worsens |
| Inspect for damage | Check brushes, wheels, belts, panels, and other parts for wear or damage |
| Charge or refuel | Recharge the battery or refuel the machine before the next use |
| Store properly | Park the machine in a dry, cool, and ventilated place to prevent rust and battery moisture |
How Regular Maintenance Improves Ride-On Sweeper Performance
Regular maintenance directly affects cleaning efficiency, machine reliability, and operating costs.

A professional maintenance routine should include:

- Checking brush wear and cleaning performance
- Cleaning filters to maintain dust control
- Inspecting tires and moving components
- Checking warning indicators and electrical systems
- Keeping the machine stored in a dry environment

For industrial facilities, preventive maintenance helps reduce unexpected downtime and extends equipment service life.
Professional Operation Tips
Based on industrial cleaning equipment experience, most ride-on sweeper problems are caused by incorrect brush adjustment, overloaded debris bins, dirty filters, and insufficient daily maintenance.
Training operators on correct driving speed, brush settings, and maintenance procedures can significantly improve cleaning performance and extend machine service life.
Common Mistakes to Avoid When Using a Ride-On Sweeper
- Starting work without checking the machine and cleaning area
- Driving too fast and leaving dust or debris behind
- Using the wrong brush for the floor surface
- Setting the brush too low and increasing machine load
- Sweeping wet floors when the machine is not designed for it
- Waiting until the debris bin is completely full before emptying it
- Ignoring warning lights, abnormal noise, or overcurrent protection
- Forgetting to clean filters and brushes after use
- Storing the sweeper in a humid or poorly ventilated area
How to Choose the Right Ride-On Sweeper
Choosing the right ride-on sweeper depends on your cleaning area, floor condition, debris type, working hours, and operating environment.
| Requirement | Recommended Choice |
|---|---|
| Large warehouses | High-capacity industrial ride-on sweeper |
| Outdoor roads and parking lots | Heavy-duty sweeper with strong dust control |
| Factories with production debris | Model with powerful brush system |
| Long daily cleaning hours | Battery model with longer runtime |
| Narrow areas | Compact ride-on sweeper with better maneuverability |
Before purchasing, businesses should evaluate sweeping width, hopper capacity, battery performance, brush durability, filter system, and after-sales support.
What Should Buyers Evaluate Before Purchasing a Ride-On Sweeper?
Before purchasing a ride-on sweeper, businesses should evaluate their actual cleaning environment instead of selecting equipment only based on machine size or price.

Important factors include:

Cleaning Area

Large warehouses and industrial sites usually require wider sweeping paths and larger debris capacity.

Debris Type

Different environments create different cleaning challenges, including dust, sand, packaging waste, leaves, and industrial debris.

Indoor or Outdoor Operation

Indoor facilities often prioritize dust control and low noise, while outdoor applications require stronger brushes and higher durability.

Maintenance and Support

Industrial buyers should consider spare parts availability, technical support, and long-term supplier service.
Conclusion
Using a ride-on sweeper correctly can improve cleaning efficiency, reduce operator fatigue, protect the machine, and help maintain cleaner indoor and outdoor areas. The basic process includes safety checks, control panel setup, brush adjustment, steady driving, overlapping sweeping routes, debris bin emptying, and after-use maintenance.
Once operators understand the correct steps, a ride-on sweeper becomes easier and safer to use in warehouses, factories, logistics parks, parking lots, schools, airports, outdoor roads, and industrial yards.
At LVTONG, we offer ride-on sweeper machines and street sweeper machines for different cleaning areas, floor conditions, and facility needs. If you need help choosing a suitable model or training operators on how to use a ride-on sweeper safely, contact LVTONG for product recommendations, operation guidance, and industrial sweeping support.
Ride-On Sweeper FAQs
How do you use a ride-on sweeper?
To use a ride-on sweeper, inspect the machine, check battery or fuel level, adjust the brush height, sit down safely, start the machine, turn on the main brush, side brush, and vacuum system, drive at a steady speed, sweep in overlapping routes, empty the debris bin when needed, and maintain the machine after use.
What should I check before using a ride-on sweeper?
Before use, check the brushes, debris bin, filters, tires, battery or fuel level, control panel, emergency stop, and warning indicators. Also check the cleaning area for large debris, ropes, stones, cables, or obstacles that may block the brush.
How do I adjust the brush height on a ride-on sweeper?
Adjust the brush height based on floor surface and debris level. A brush that is too high may miss dust and debris. A brush that is too low may wear quickly, increase load, or trigger overcurrent protection.
What speed should I drive a ride-on sweeper?
Drive at a steady and controlled speed. If you drive too fast, the machine may leave debris behind. If you drive too slowly, cleaning efficiency drops. Adjust speed based on floor condition, debris amount, and surrounding safety.
When should I empty the debris bin?
Empty the debris bin when it is about half to two-thirds full. Waiting until the bin is completely full may reduce suction, increase dust, overload the machine, and lower cleaning performance.
What size ride-on sweeper do I need for my facility?
The suitable ride-on sweeper size depends on cleaning area, floor layout, debris type, and daily cleaning frequency. Large warehouses and industrial sites usually require higher-capacity machines, while smaller facilities may benefit from compact models.Can a ride-on sweeper clean outdoor areas?
Yes. Many ride-on sweepers are designed for both indoor and outdoor applications, including parking lots, industrial yards, roads, logistics parks, and public areas.What is the difference between a sweeper and a scrubber?
A sweeper is designed for dry debris collection such as dust, leaves, and waste. A scrubber uses water, brushes, and vacuum recovery systems to wash floors and remove stains.