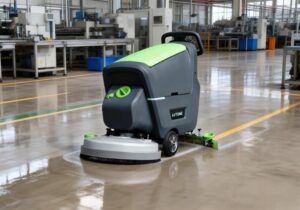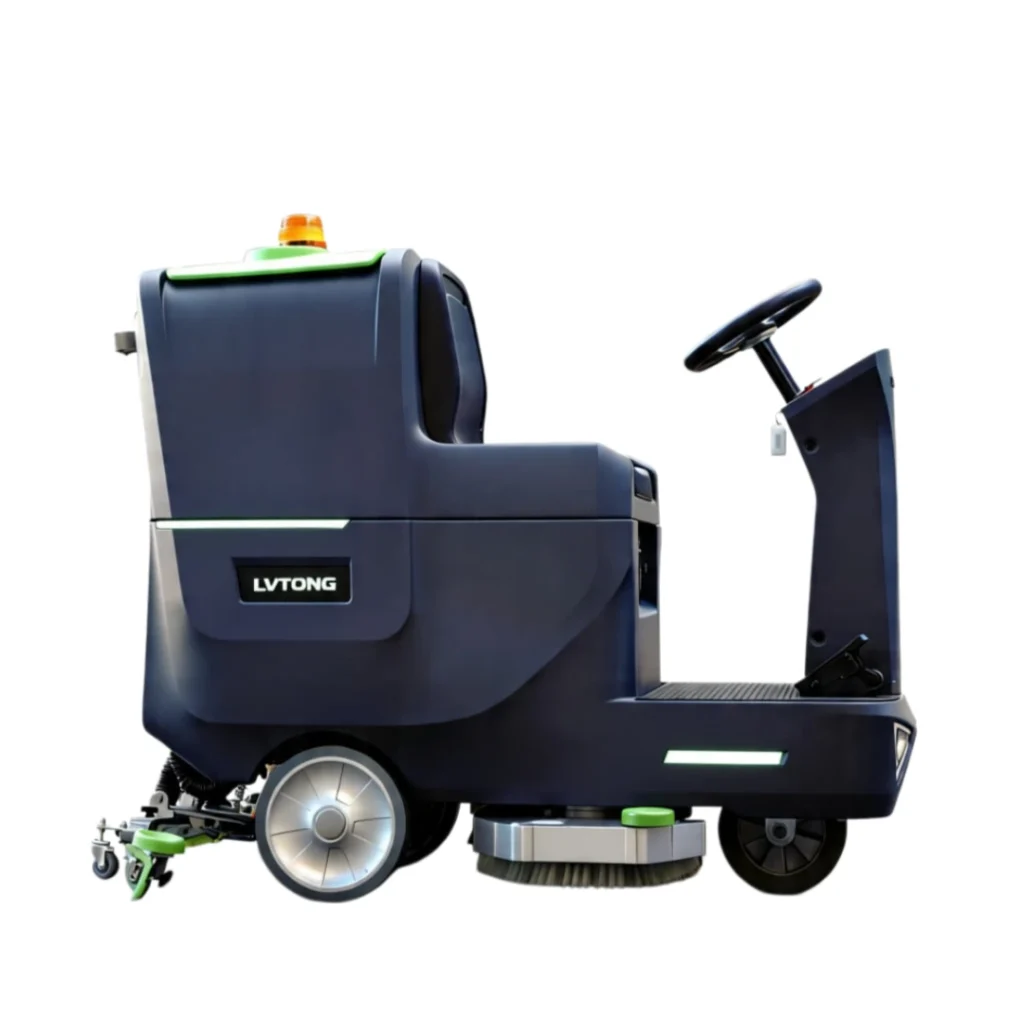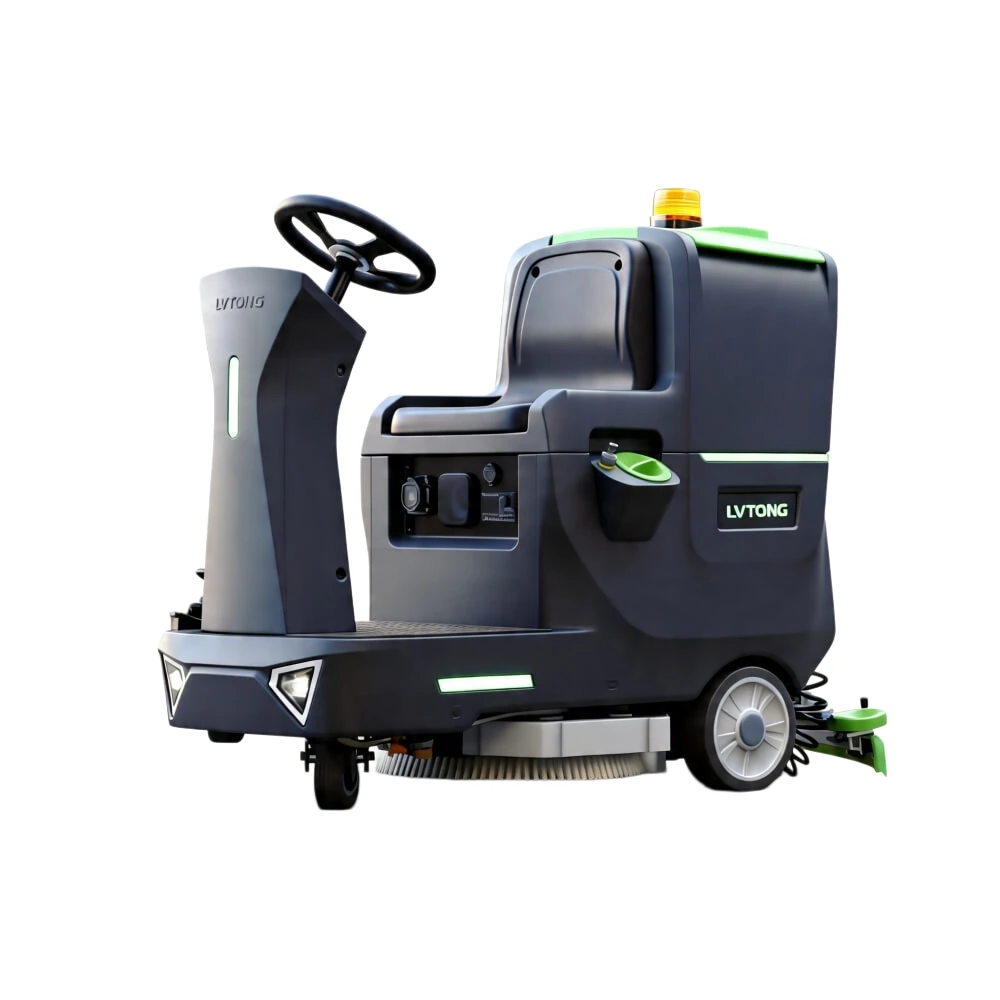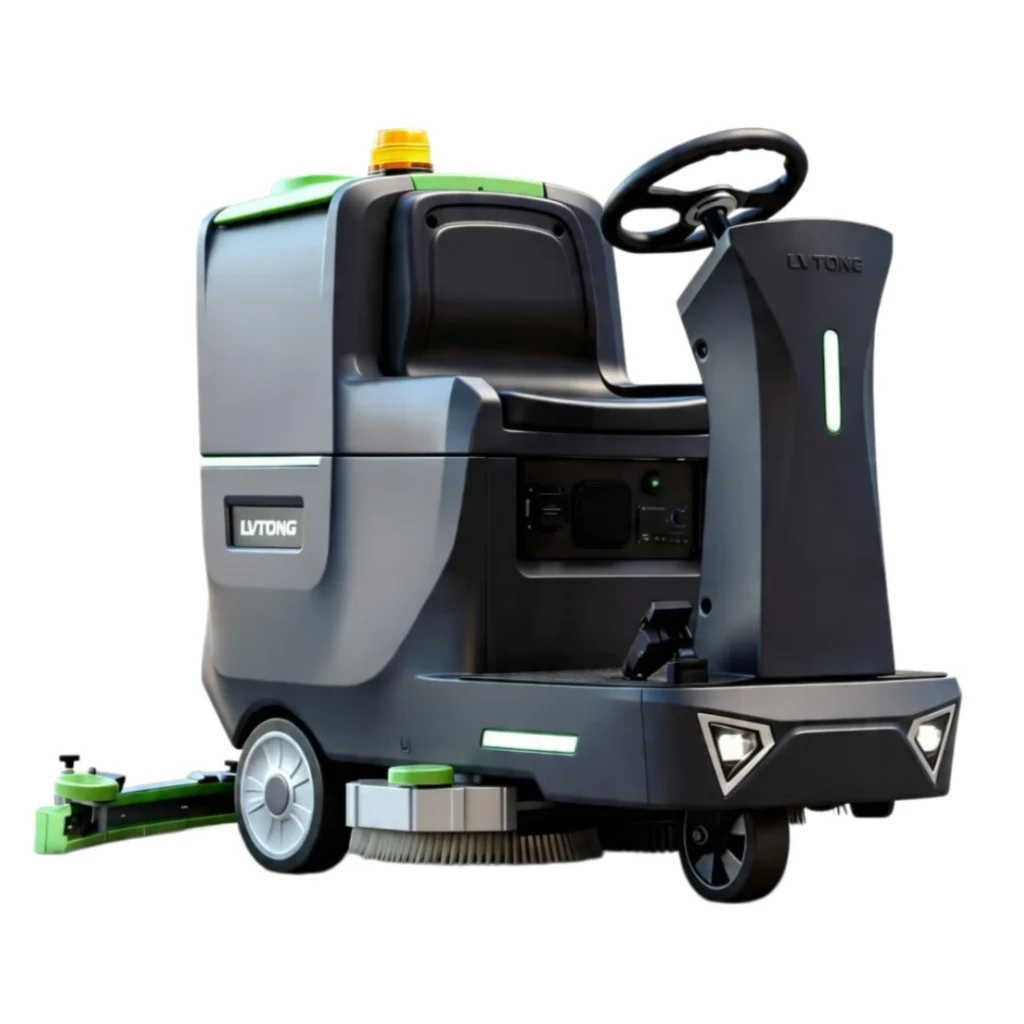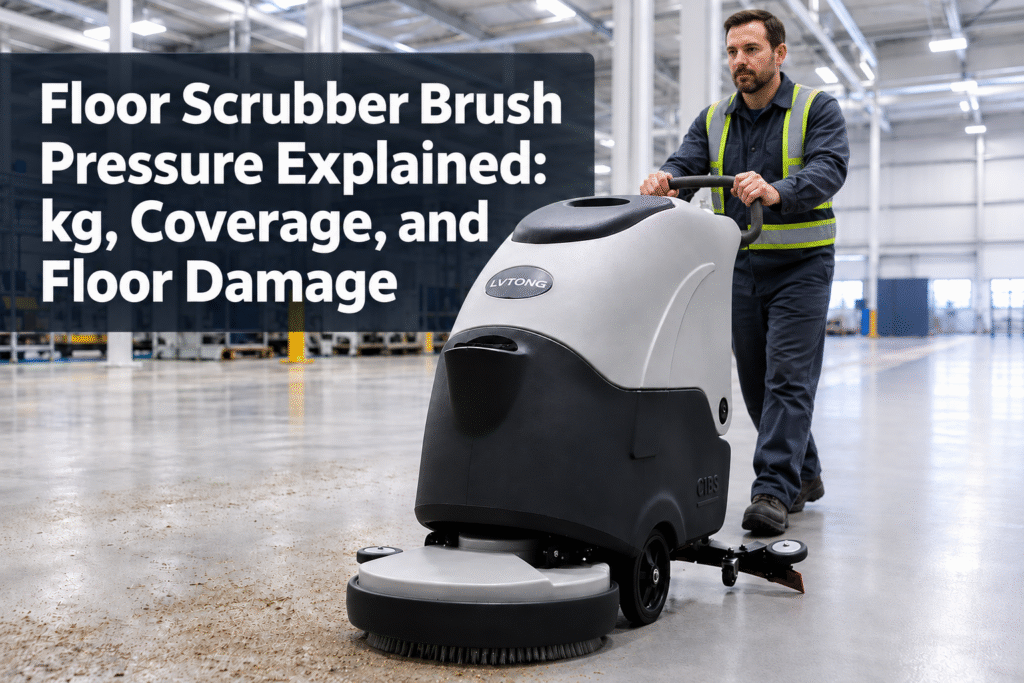
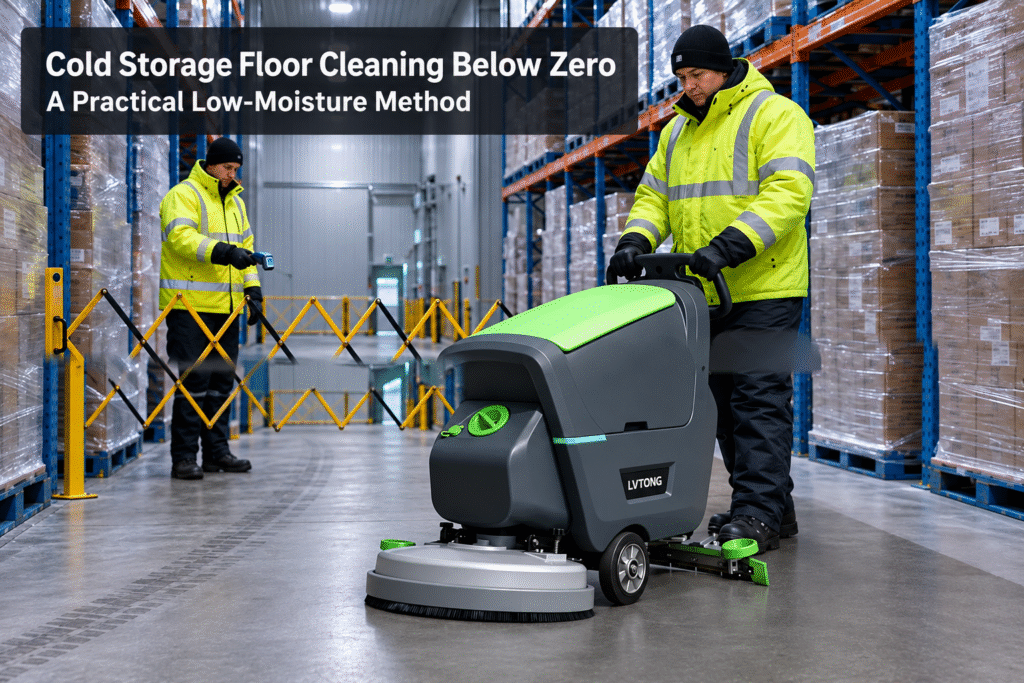



Floor scrubber brush pressure is the downward load a scrub deck applies through its brush or pad. You will usually see that load expressed in kilograms, although the engineering quantity is force: 1 kilogram-force equals about 9.81 newtons. For a typical commercial machine, the right setting is the lowest load that removes the soil in one planned pass without scratching, dulling, overheating, or shortening battery runtime. The kg number alone cannot predict the result. A 30 kg load on one 500 mm disc behaves differently from 30 kg divided between two smaller discs, and a grit brush is far more aggressive than a soft nylon brush under the same load. Coverage also depends on cleaning width, travel speed, turns, refills, and repeat passes. We therefore treat floor scrubber brush pressure as one controlled variable in a complete cleaning setup: floor finish, soil, brush or pad, chemistry, water flow, speed, and recovery must all agree.
What the kg Number Really Measures
On a specification sheet, kg usually means the deck’s total downward force stated as an equivalent mass. It does not mean the machine weighs only that much, and it is not automatically the pressure at every bristle tip. The scrub deck may receive load from its own weight, a spring, an actuator, or a combination of those systems. The relevant question is where that force goes once the brush touches the floor.
A useful comparison is nominal average pressure: total downforce divided by the deck’s geometric contact area. Consider one 500 mm circular disc. Its footprint is about 0.196 square meter. A 30 kgf load is roughly 294 newtons, which gives a nominal average of about 1.5 kPa. Real bristles touch only part of that footprint, so local stress is higher and uneven. This calculation is a screening tool, not a floor-safety certificate. The IEC 62885-9 commercial floor-treatment machine test framework helps manufacturers describe performance consistently, while the floor maker and brush supplier still control surface compatibility.
Why Equal kg Settings Can Clean Differently
Picture two scrubbers labeled 30 kg. One uses a soft 500 mm nylon disc on smooth vinyl. The other uses two smaller grit brushes on textured concrete. Their displayed load matches; their cutting action, contact pattern, RPM, and heat do not. Worn bristles add another change: they can become uneven, concentrate load at the edge, and tempt an operator to increase pressure when replacement is the better fix.
This is why we ask for the brush diameter, number of brushes, brush material, speed, and floor finish before interpreting a pressure figure. Our floor scrubber brush types guide helps you match nylon, polypropylene, grit, or pad options to the surface before adjusting load. If a supplier cannot state whether the published kg includes the deck and brush, compare machines through a controlled floor trial instead of a catalog number alone.
How Brush Pressure Affects Cleaning Coverage
You can calculate theoretical coverage easily: multiply cleaning width in meters by travel speed in kilometers per hour, then multiply by 1,000. A 0.70 m deck moving at 4 km/h has a theoretical rate of 2,800 ㎡/h. Real floor scrubber performance is lower because the route includes turns, overlap, obstacles, solution refills, recovery-tank dumping, traffic, and slower work on bonded soil.
Floor scrubber brush pressure changes practical coverage in two directions. More load can reduce a second pass when the soil genuinely needs extra agitation. Excess load raises motor demand, may reduce battery runtime, slows travel on some machines, and wears brushes sooner. Even if a high-pressure setting appears faster during a short trial, it can still reduce the area finished during a shift. Measure completed clean area per battery charge and record repeat-pass rate; those two figures reveal more than maximum kg.

A Practical Starting Matrix
The following matrix provides a staged commissioning process for common commercial disc-deck scrubbers. It is not a pressure specification. The actual downforce available at each setting depends on the machine model, scrub-deck design, and brush or pad configuration, so confirm the corresponding kg values with the equipment manufacturer. Begin on an inconspicuous area, follow the flooring and consumable manufacturer’s instructions, and use the machine’s lowest effective setting.
|
Floor and task |
Trial approach |
First setup |
Stop if you see |
|---|---|---|---|
|
Polished stone, finished VCT, vinyl, sound epoxy |
Start at the machine’s lowest available setting. Increase only if a dried test area still shows consistent soil. |
Soft nylon or compatible maintenance pad; low speed |
Gloss loss, swirl marks, coating haze |
|
Ceramic tile, terrazzo, sealed concrete |
Start low and increase one pressure step at a time only when the previous setting does not produce an acceptable result. |
Medium nylon or polypropylene; normal route speed |
Scratching, hot deck, fast pad wear |
|
Rough uncoated concrete, embedded general soil |
Test the lowest effective setting first. Move toward a medium setting only after confirming that the brush, chemistry, and dwell time are appropriate. |
Stiffer compatible brush; controlled water |
Sanding, loose aggregate, uneven wear |
|
Durable industrial floor, bonded heavy soil |
Consider a higher setting only after lower settings, compatible chemistry, and sufficient dwell time have been tested. Confirm the permitted downforce for the specific machine and brush configuration. |
Use only after a floor-compatibility test and chemistry check |
Motor overload, scoring, coating removal |
How Excess Pressure Damages Floors
Floor damage usually arrives through abrasion, trapped debris, friction heat, or uneven loading. On polished concrete and stone, an aggressive pad can reduce gloss before a visible scratch appears. On epoxy, urethane, or finished resilient floors, repeated high load can thin the coating and expose weak spots. On tile, grit caught beneath a pad can score the face while the same debris in grout acts like an abrasive slurry. A tilted deck creates crescent-shaped wear because one edge carries more load.
The warning signs are practical and easy for you to spot: fresh swirl marks, a dull band that matches your cleaning path, rapid pad thinning, unusually high brush-motor current, shorter runtime, steering pull, or heat and odor at the deck. Stop and inspect when any of these appears. Reduce floor scrubber brush pressure, remove embedded debris, verify that the deck is level, and step down to a softer brush or pad.
Five Steps to Set Pressure on a New Floor
-
Identify the exact finish, coating condition, soil, and chemical limits.
-
Fit the least aggressive brush or pad likely to remove that soil.
-
Start at the lowest floor scrubber brush pressure and normal solution flow.
-
Clean a small marked area, let it dry, then inspect gloss, scratches, residue, pickup, motor load, and brush wear.
-
Increase one setting at a time. Record pressure level, speed, chemical dilution, passes, battery use, and the acceptable result.
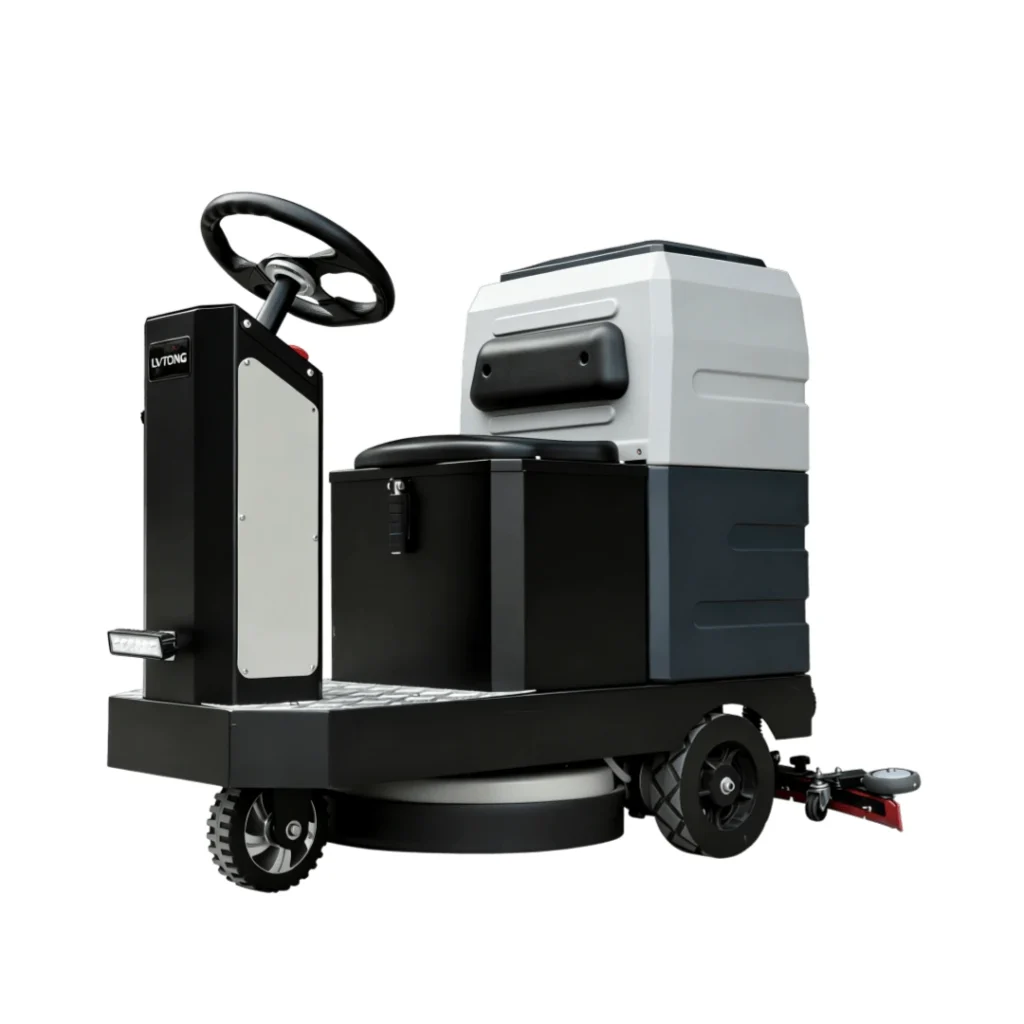
LVTONG Product and Application Examples
The table connects each machine format with published coverage data and the pressure decision that should accompany it. Product names link directly to the corresponding model pages.
|
LVTONG example |
Published application detail |
Pressure decision |
|---|---|---|
|
510 mm path; 50L floor scrubber; 1980 ㎡/h cleaning efficiency and 2000 ㎡ cleaning range |
Confirm deck-load option; favor controlled low settings on epoxy or marble |
|
|
Up to 6,800 ㎡/h; 130/135 L tanks; 10,000–15,000 ㎡ range |
Evaluate pressure with brush type and long-route battery demand |
|
|
860 mm cleaning path; 130 L water tank; 6,800 m²/h stated efficiency; 4–6 hour runtime |
Route test should document pressure, soil, overlap, and repeat passes |
These model-page records do not promise that pressure alone will reproduce the result. Your route, surface, contamination, water stops, operator, battery, and cleaning standard all matter. Ask for down-pressure by brush head and option, then trial the machine on your floor. Our concrete floor scrubbing procedure explains surface checks, water control, and wastewater recovery for concrete routes.

LVTONG Scenarios: Matching Brush Pressure to Real Cleaning Routes
Published coverage figures describe the result of a complete cleaning setup, not brush pressure alone. In each application, the appropriate setting must be evaluated together with the floor surface, soil type, brush or pad, detergent, travel speed, battery demand, and acceptable finish.
For a 3,000 m² food-processing plant, the Q5’s compact walk-behind design delivered a reported cleaning rate of 2,100 m²/h, with a 75% increase in cleaning coverage and a 50% reduction in labor costs. When commissioning the machine, start with the lowest effective brush-pressure setting and confirm that the selected brush, detergent dilution, and dwell time can remove the soil without damaging the floor. Increase pressure only if a dried test area still shows consistent residue.
At an international airport terminal, six LT-S710X units achieved a listed cleaning efficiency of 6,800 m²/h and an MTBF of 1,800 hours. On long, high-traffic routes, maximum brush pressure does not necessarily produce the best shift coverage. The operating setting should balance cleaning in one planned pass with battery consumption, brush wear, floor-finish protection, and consistent recovery performance.
For a 200,000 m² airport cargo area with dust, oil, concrete flooring, and frequent vehicle traffic, the LT-S860X operated continuously for five hours and cleaned a reported 60,000 m² per cycle. Loose debris should be removed before increasing brush pressure, while oily contamination should first be addressed through compatible chemistry and sufficient dwell time. During the route trial, record the selected pressure level, repeat-pass rate, battery use, and dried-floor condition to determine whether additional pressure improves total coverage or simply increases wear.
How to Compare Machines Responsibly
When you compare machines, use the same floor section, soil, detergent dilution, brush or pad class, water flow, operator, and pass pattern. Record your dry-floor appearance, completed area, battery percentage used, recovery quality, and consumable wear. Compare low, medium, and high settings only when the surface tolerates the previous step. This method turns floor scrubber brush pressure from a marketing number into an operating decision.
If your facility has mixed floor types, choose adjustability over the largest maximum. A retail entrance, sealed warehouse aisle, and rough loading bay rarely need one setting. Training should name the approved brush, pressure level, chemical, and speed for each zone so operators do not solve every problem by pressing harder.
FAQ
How can you tell if floor scrubber brush pressure is too low?
Pressure may be too low when your machine leaves a consistent soil film, needs repeat passes on properly pretreated soil, or the brush appears to skim without stable contact. Before you increase pressure, check that the brush or pad is suitable, the solution flow and dilution are correct, and the brush is not worn. Then raise the setting one step and inspect a dry test area.
Can you compare disc and cylindrical floor scrubber brush pressure in kg?
Not directly. A disc deck spreads force across a broad circular contact area, while a cylindrical brush contacts the floor along narrower lines and usually runs at a different RPM. Compare cleaning results, debris handling, brush type, battery use, and floor condition in the same trial instead of choosing the larger kg figure.
Should you reset brush pressure after changing a floor scrubber brush or pad?
Yes. A new brush, a different bristle material, or a pad with a different thickness and aggressiveness changes the contact pattern and motor load. Return to the lowest approved pressure, test a small area, and document the new setting before you resume the full route.
Does floor scrubber brush pressure affect squeegee pickup or streaking?
Brush pressure does not directly create vacuum, but it can change the amount and consistency of slurry reaching the squeegee. If streaking appears after a pressure change, check solution flow, foam, blade condition, vacuum airflow, and travel speed before assuming the deck needs more pressure.
Can higher brush pressure remove oil grease or tire marks without pretreatment?
Sometimes extra agitation helps, but pressure alone is rarely the most reliable answer. Confirm that the detergent is compatible with the floor, allow the correct dwell time, use the right brush or pad, and remove loose debris first. If the mark remains, increase pressure gradually within the machine and flooring limits.
Conclusion
The best floor scrubber brush pressure is a verified setting. Interpret load together with contact area, brush or pad, RPM, floor finish, soil, battery demand, and route efficiency. Start low, change one variable, inspect the dried surface, and keep a zone-specific record. That process protects the floor while giving you a defensible coverage figure for staffing and machine selection.
Not sure which pressure range, brush, or machine best suits your facility? Share your floor type, soil conditions, cleaning area, and required runtime with us to get a floor scrubber brush pressure recommendation matched to your coverage goals and surface-protection needs.